

Welcome to our latest ‘How To…’ guide. Things you will need for this: seeds, compost, pots.
Seeds can either be sown directly into the soil where they will grow, or raised in posts first to give them the necessary protection for a head start on the growing season. Once you’ve decided what seeds you want to plant, the technique for sowing is pretty similar for all seeds. Remember to read the seed packet to make sure you’re giving your plants the best head start.
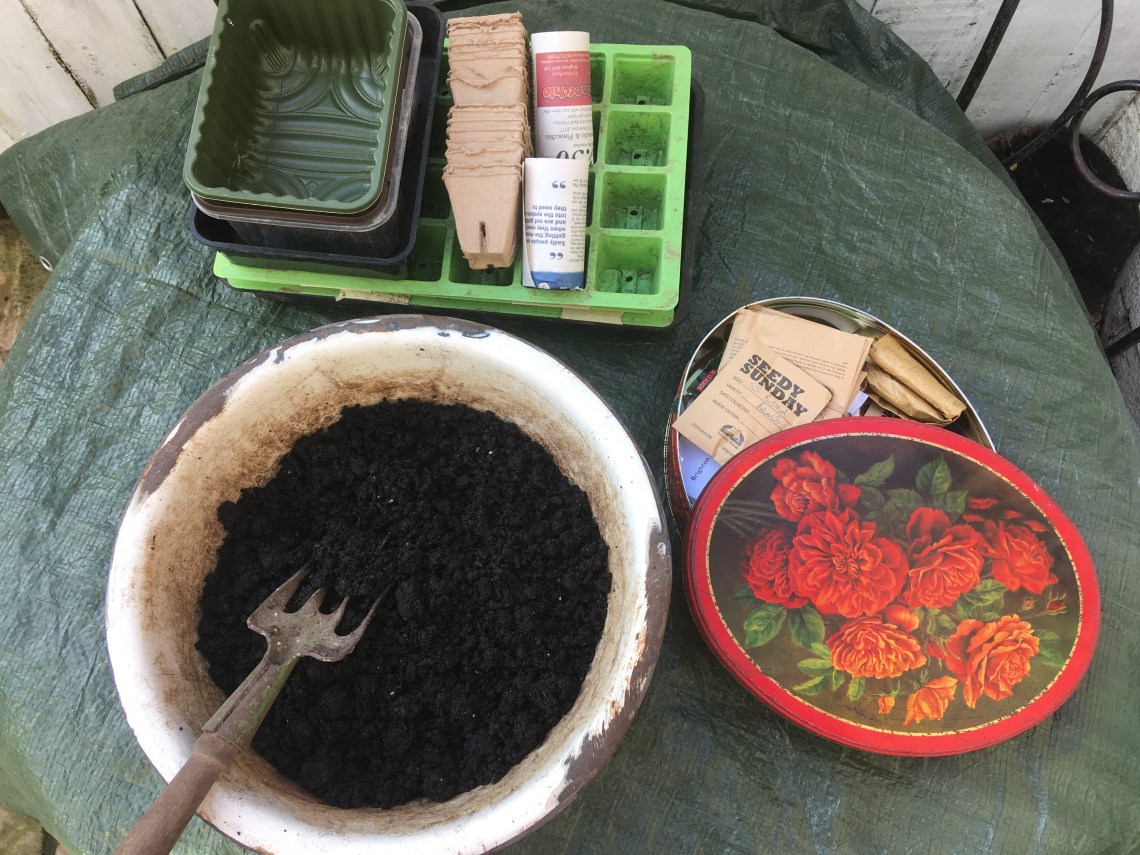
Step 1. Choose a growing medium. You can buy organic seed compost from a number of suppliers. It is not essential to use seed compost, but because seeds contain all the energy needed to germinate, they don’t need a high nutrient compost to start off with.
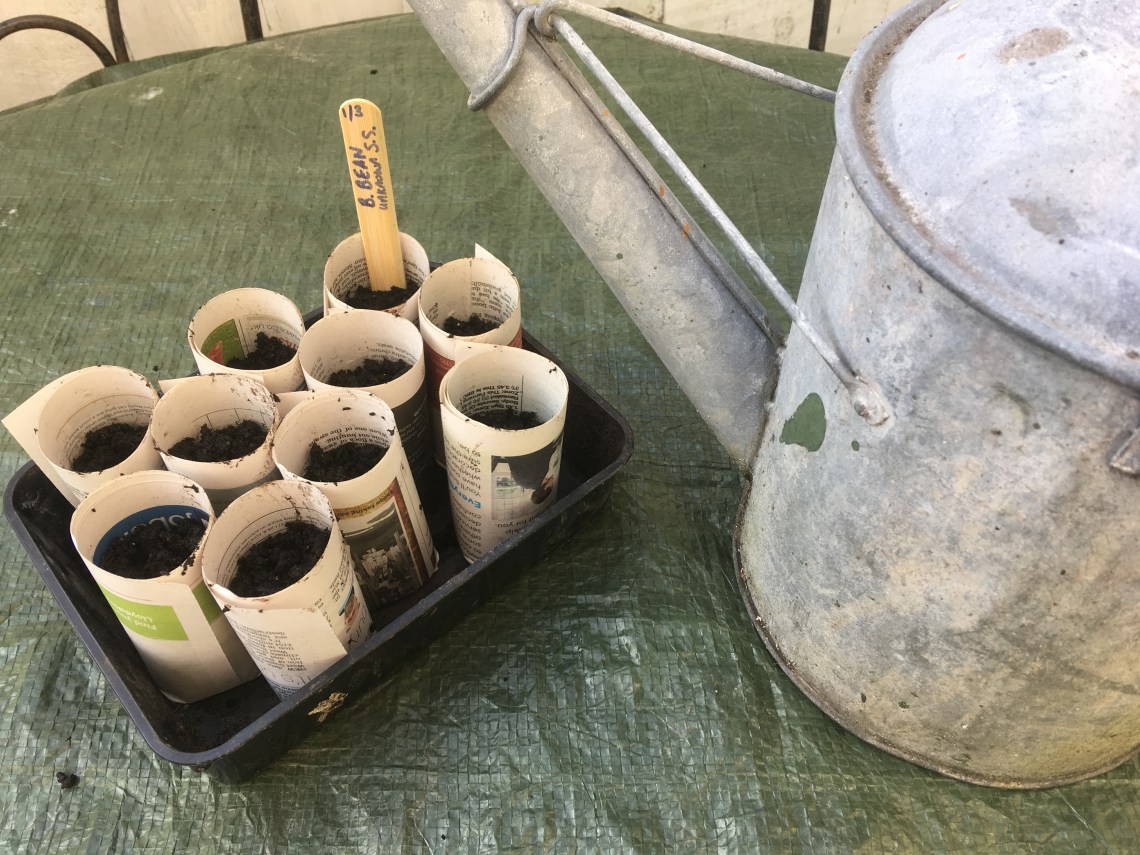
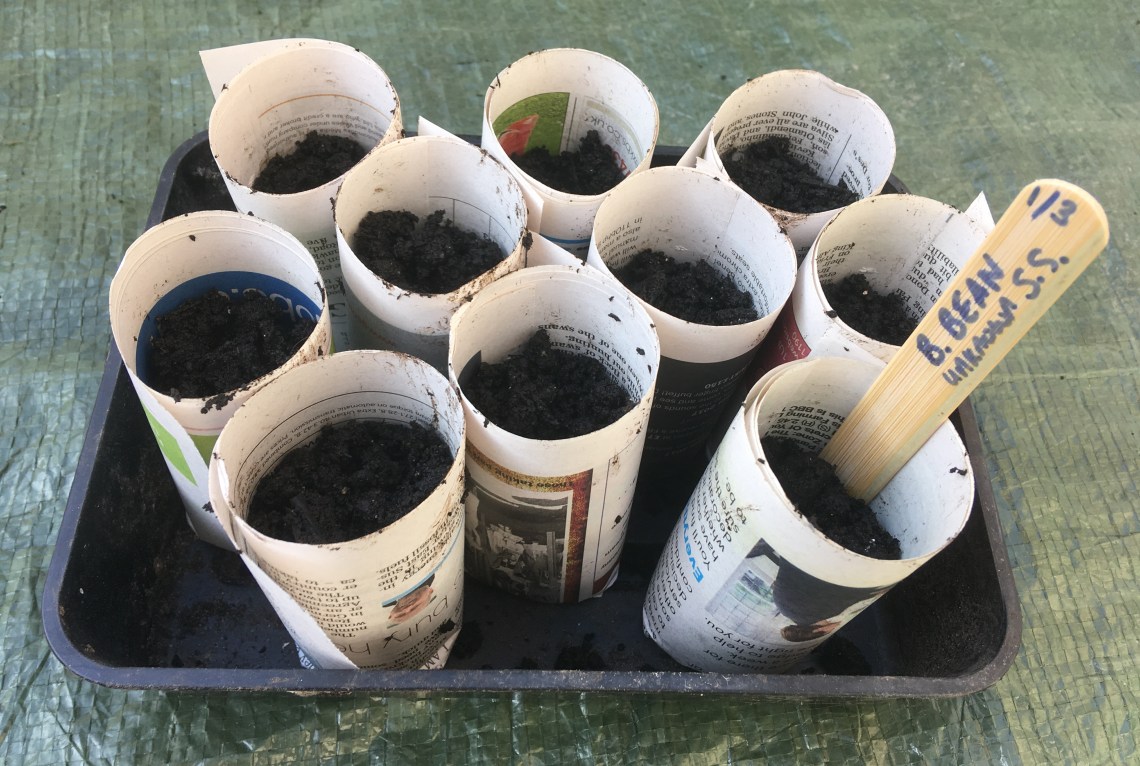
Step 2. Choose suitable pots or seed trays in which to sow your seeds and fill them with compost. Make sure you leave enough space for a covering layer of compost or to make a hole to plant the seed. If the seeds are very small (such as brassicas) you may want to sprinkle them thinly (broadcast) over a seed tray rather than into individual pots or modular seed trays (ones with multiple sections joined together). You can use a variety of containers to plant seeds, as long as they have drainage holes in the base. If you are keen to avoid plastic, then why not try making your own paper pots from newspaper. These can be planted out without the need for transplanting and disturbing roots.


Step 3. Sow your seeds. As a rule, seeds should be planted twice the depth of their size. For very small seeds, a fine layer of compost to cover is sufficient. For larger seeds, use a piece of cane, a pencil (or your finger!) to make a hole the correct depth and drop the seed in. Try and make sure you only use seed that is in date. Some seeds store better than others and should be kept cool and dry. Some seeds have extra needs to help with germination. Some need an ‘artificial winter’ and will need to be kept in the fridge before sowing; some will benefit from soaking overnight. Check the packet for any tips and directions on this. A good tip: don’t forget to label your seeds; I always think I will remember what things are, but I don’t.
Step 4. Water in. The best way to water seeds is by standing the entire tray or set of modules in water and allowing the compost to draw up the moisture until the surface is just wet. Don’t use rainwater for seeds and seedlings as it can contain fungal spores that can lead to a common cause of seedling death: dampening off, whereby the seedling stem withers away.
Step 5. Raise seedlings. For indoor sown seeds, keep the trays somewhere with constant temperature and good light. Make sure the compost doesn’t dry out, but don’t overwater. You can put covers (or cloches) over the seeds to help maintain the temperature, but you should remove these as soon as the seed germinates to allow good air circulation and prevent moulds from forming. For outdoor plants, you will be more at the mercy of the elements, but you can use covers to help minimise overwatering from rain, damage from wind and fluctuating temperatures.
Step 6. Thinning out your seedlings. As cruel as it seems, it is important to thin out seedlings where you have broadcast sown to ensure that the remaining seedlings have optimum conditions to become strong plants. You can always use seedling thinnings as a topping on salads, or pot them on and give them to friends and family.
Step 7. Growing on your seedlings. Some plants, particularly those with larger seeds, will need to be potted on to larger containers as they outgrow their seedling pots, but this is not recommended for the brassica family as they dislike having their roots disturbed. If you do transplant seedlings, only handle them by their leaves and roots; try not to touch the stem as it is easy to damage it. Pot on into organic potting compost where the young plants will benefit from a higher nutrient content.
Now you can sit back and daydream of warmer spring days when you can plant out the seedlings after risk of frost has passed. Don’t forget to harden off tender plants by leaving them outside during the day for a few days, then over night before planting in the final location.
For a quick look guide on how to plant different types of seed, go to our seed sowing table.

3 Comments