

 Garlic can be planted over a number of months from October to February, although the earlier you can plant, the longer the crop will have to mature (which can be handy if we have a poor summer). Traditionally, garlic is planted on the shortest day of the year and harvested on the longest, but you will find you probably need longer than this for larger garlic bulbs.
Garlic is available in 2 broad categories of soft or hard necked garlic. Soft-neck garlic is what you are most likely to buy in the shops as it stores well, but can have a milder taste. They tend to have mixed clove sizes in one bulb. Hard neck varieties are closer to wild garlic with the accompanying stronger taste, but doesn’t store for as long. These tend to have larger clove sizes. There is also Elephant ‘garlic’ to consider, which produces huge individual cloves, but this is technically a leek!
Whatever variety you decide on, buy your bulbs from an organic supplier and check that the bulb is firm and free from mould. Tempted to plant that sprouting garlic in the cupboard? You can plant garlic you’ve bought from the shop, but it potentially won’t have the disease resistance and vigour that seed bulb garlic will have.
Choose a position outdoors that will be sunny. Prepare the soil by adding some manure and forking this in well. Make sure the soil is loose to a good depth – as deep as you can do easily by hand (unless your soil is very compact, then you either need to dig it over properly, or add a lot of organic material if you choose ‘no dig’). Draw the soil into raised rows allowing room to plant cloves 4 inches apart and at least 6 inches between rows.

Break open the garlic bulb to access the individual cloves within. Each clove will grow into a new bulb. Place the individual garlic gloves along the rows of soil to get the spacing right, then gently push them into the mound until the tip of the clove (pointy end) is even with the top of the soil. Draw up a little of the soil to cover the clove to a depth of around 1 inch.


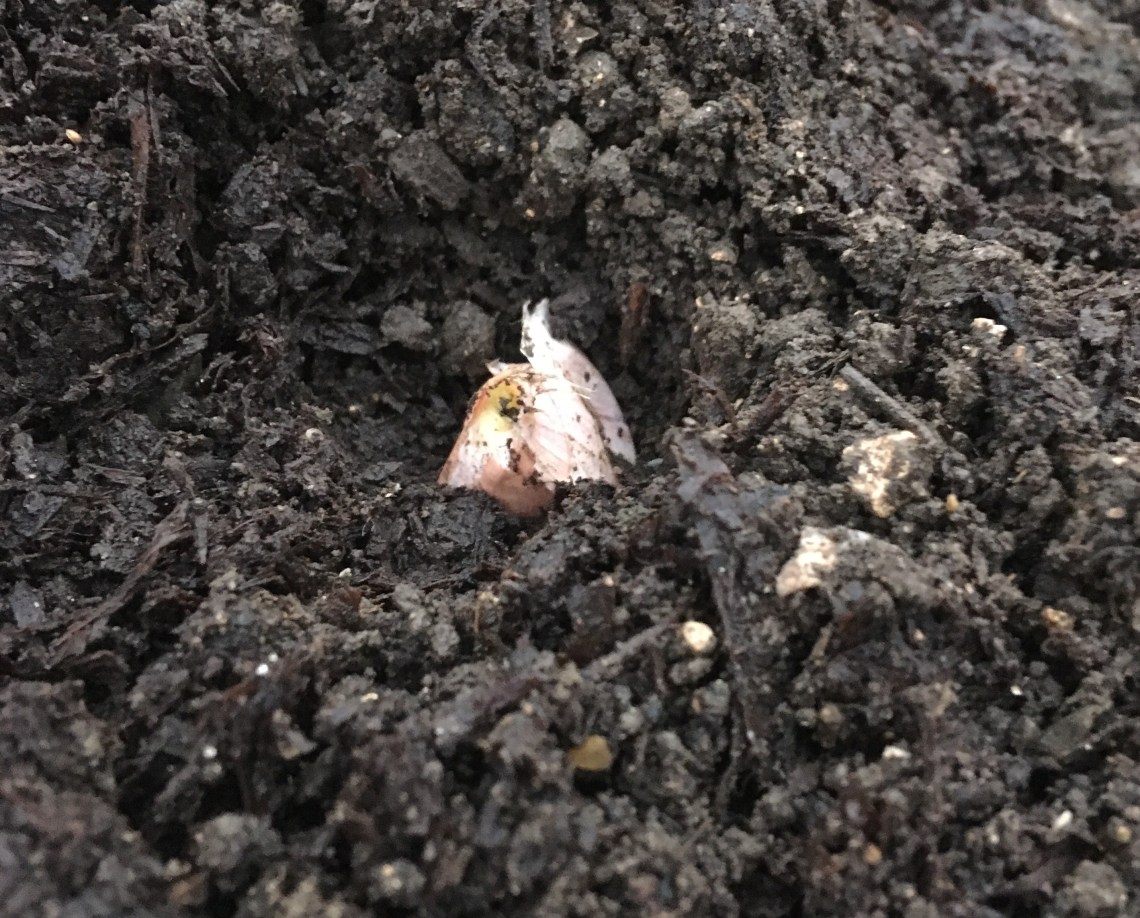 Place a physical barrier over the planted area to deter birds and other creatures from unearthing the bulbs. If this does happen, simply gently push the cloves back into the soil and draw soil up to cover them again. There is no need to water the garlic in, and in fact, unless there is very little rain, there is no need to do anything else with the garlic except sit back and wait.
Harvest the crop when the top of the plant has gone from green to brown, dried out and looks dead. Lift the bulbs from beneath the soil and leave them somewhere dry and warm to ensure all moisture is removed. Store somewhere cool and well ventilated, and use as you would shop-bought garlic.
If you have a large crop and you can’t wait to taste it, you can harvest the bulb when it is ‘green’ – the top of the plant will still be green and growing, and the bulb will not have separated out into individual cloves. This can be used in cooking and gives a fresh, welcome treat to dishes in early summer.
There is a chance that in wet conditions the bulbs can get white rot. This is a fungal disease that rots the crop from the roots up and is very hard to control once it occurs. The best organic defence is to lift and burn infected plants and avoid planting garlic, onions or leeks (all from the allium plant family) for 7 years. This is hard to achieve in a small space, so attempting to avoid it initially is the best bet.
Try out these recipes to use your garlic in: Courgette pesto and Ema’s chilli, garlic & ginger sauce.

1 Comment