Growing Organic vegetables as a novice.
What you will need:
Seed Compost – New Horizon from Homebase is well reviewed
Seed Trays/Modules – with drainage holes and a tray to catch excess water
Lid – cling film or other plastic coverings also work
Water – rain water preferable due to pH variations in tap water
Organic Seeds – I used beetroot, kale and broccoli bought from Amazon
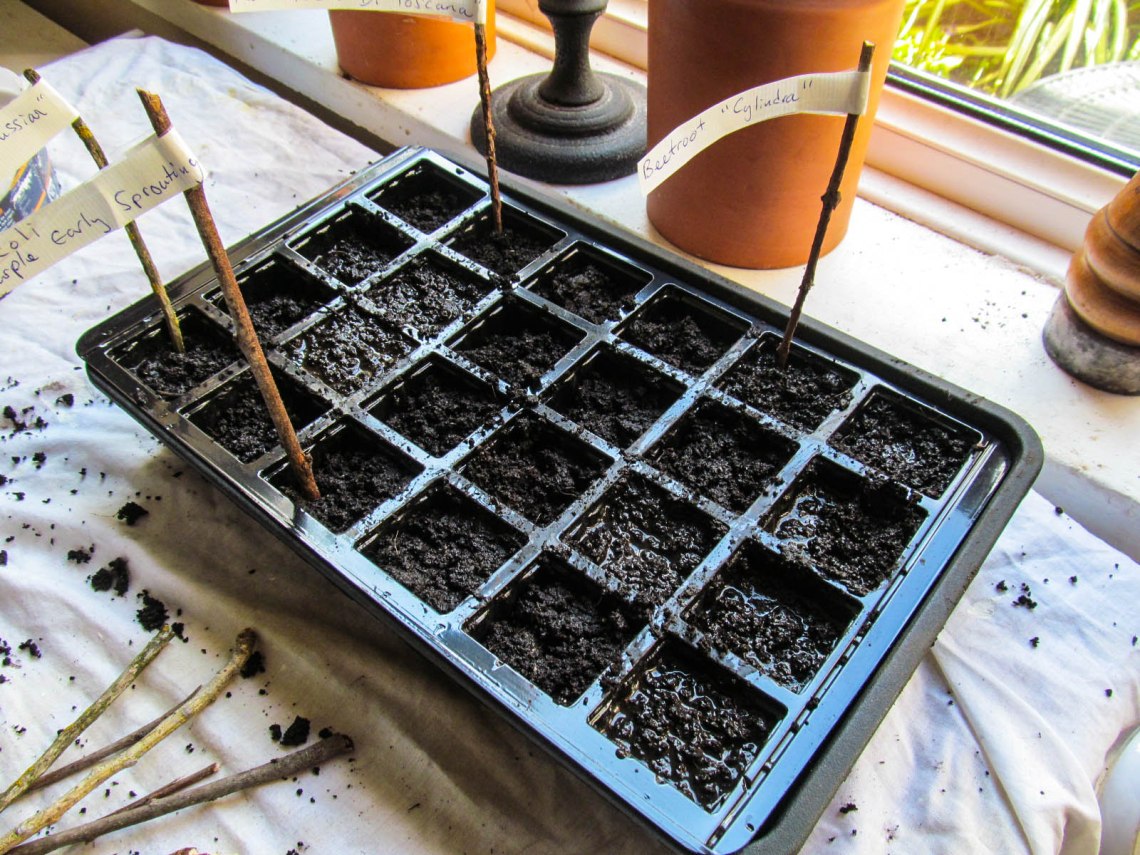
Labels – you can DIY with sticks, cellotape and paper. Or, 50 labelling sticks available from Poundland.
Method:
- Dampen the seed compost by mixing with some rain water in a bucket. Better to be on the dry side, I think mine was a bit soggy.
- Pour this compost into the seed tray but don’t push in as this will compact the soil – making harder work for the seeds
- Once the tray is full, tap against the table to settle the soil.


4. Labels your seed tray. Seedlings look almost identical, so if you don’t label them you wont stand a chance at knowing what’s growing where!
5. Make depressions in the soil for the seeds to sit. A good rule of thumb is that depth should be twice that of the seed. Broccoil and Kale are about 1cm deep.
6. Sprinkle seeds into the depressions – usually about 1-2 per module. I may have got a bit carried away with the kale here, as the seeds are tiny and managed to get away from me! This caused a lot of pricking out weaklings.


7. Sprinkle with a little more compost, just to cover the seeds.
8. Cover – cling film works fine if you don’t have a plastic lid.
9. Leave in a warm space, preferably near a window and wait for germination. This depends on the type of seed. For the seeds I used it is about 1-2 weeks.
(Open the vents to allow for air circulation)
11/04/2016
The tray seemed too wet so I’ve uncovered this morning to prevent moisture problems – damping off etc. Putting lid back on tonight.
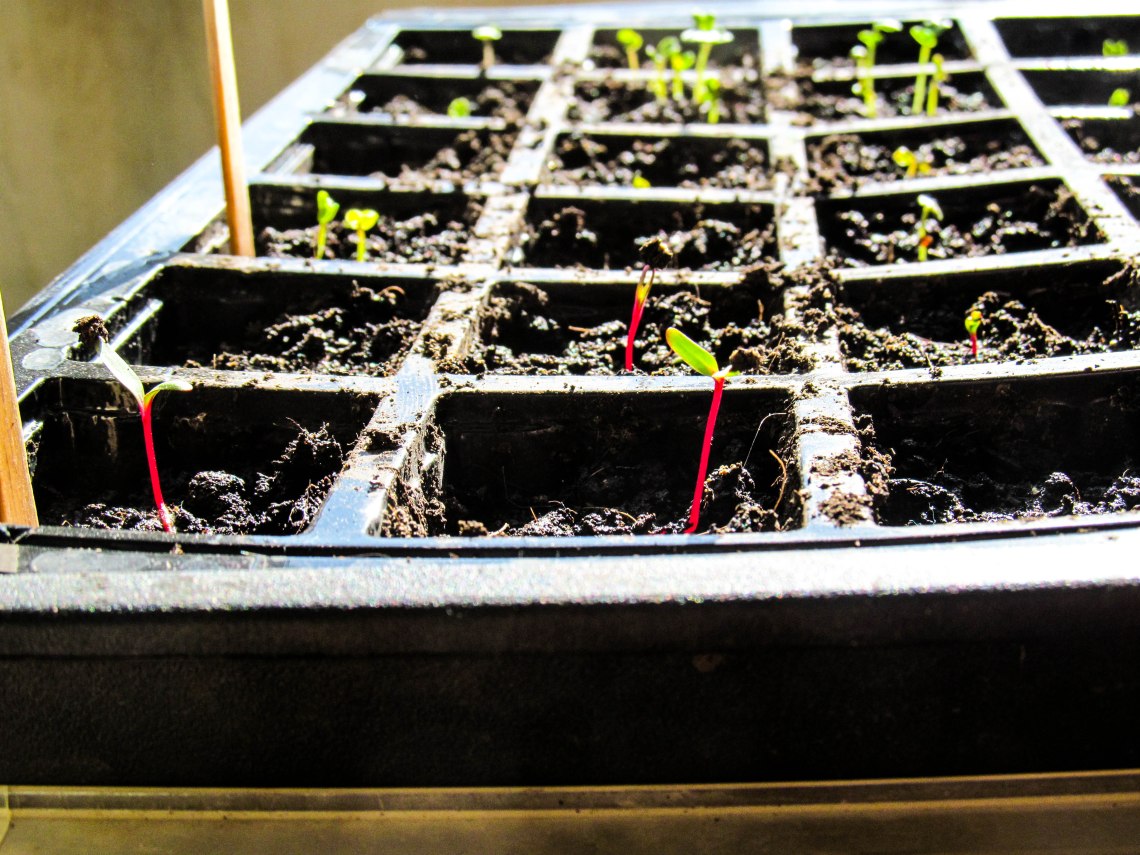
The Kale “Nero Di Toscana” is in the lead after only 3 days!


12/04/2016
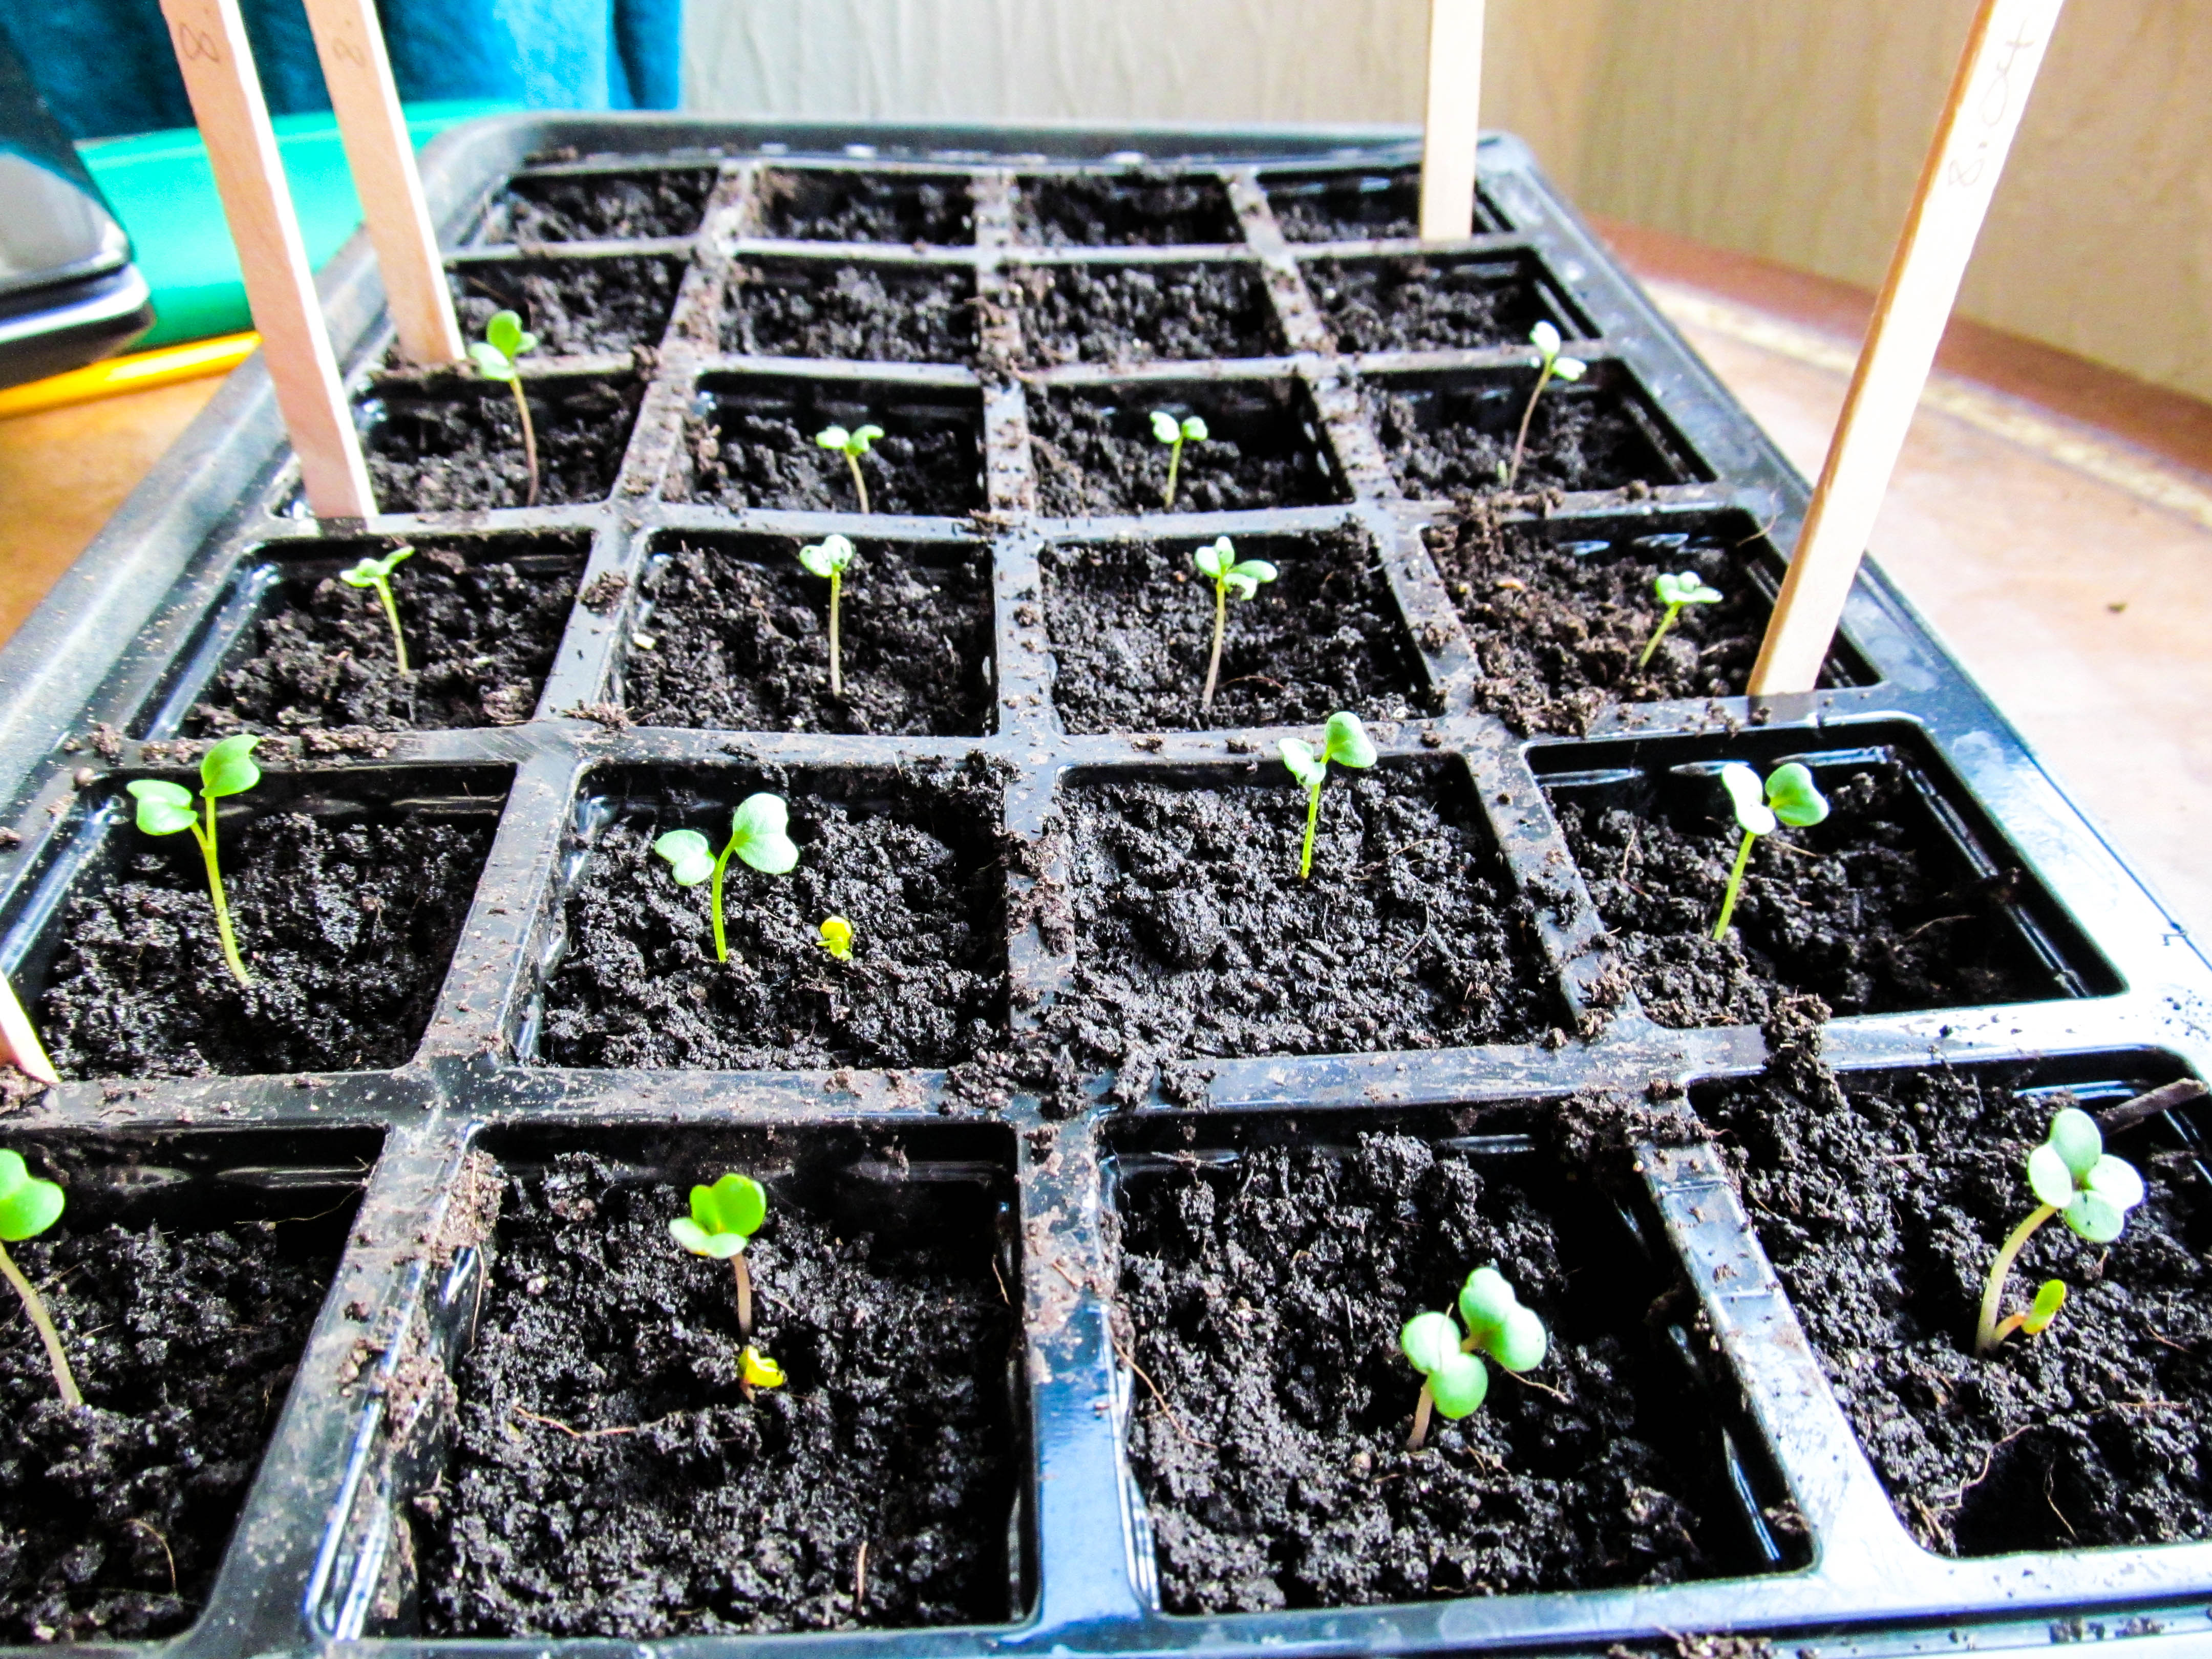
Several seedlings sprouted in each module. I have pinched out the weaker looking ones, leaving only one per module. This removes the competition for nutrients and space.

The kale and broccoli have come through, leaving only the beetroot which has a longer germination period.
Check the soil for moisture, rewater only if it drys out. Underwatering encourages strong roots which search for sustenance.
I will continue to keep the tray covered, rotating it daily to provide even light exposure.
13/04/2016
Potting on
What you will need:
Potting Compost/mix – mix your own, see details below.
Bucket
Rain Water
Stick to stir
Pots – Biodegradable preferable

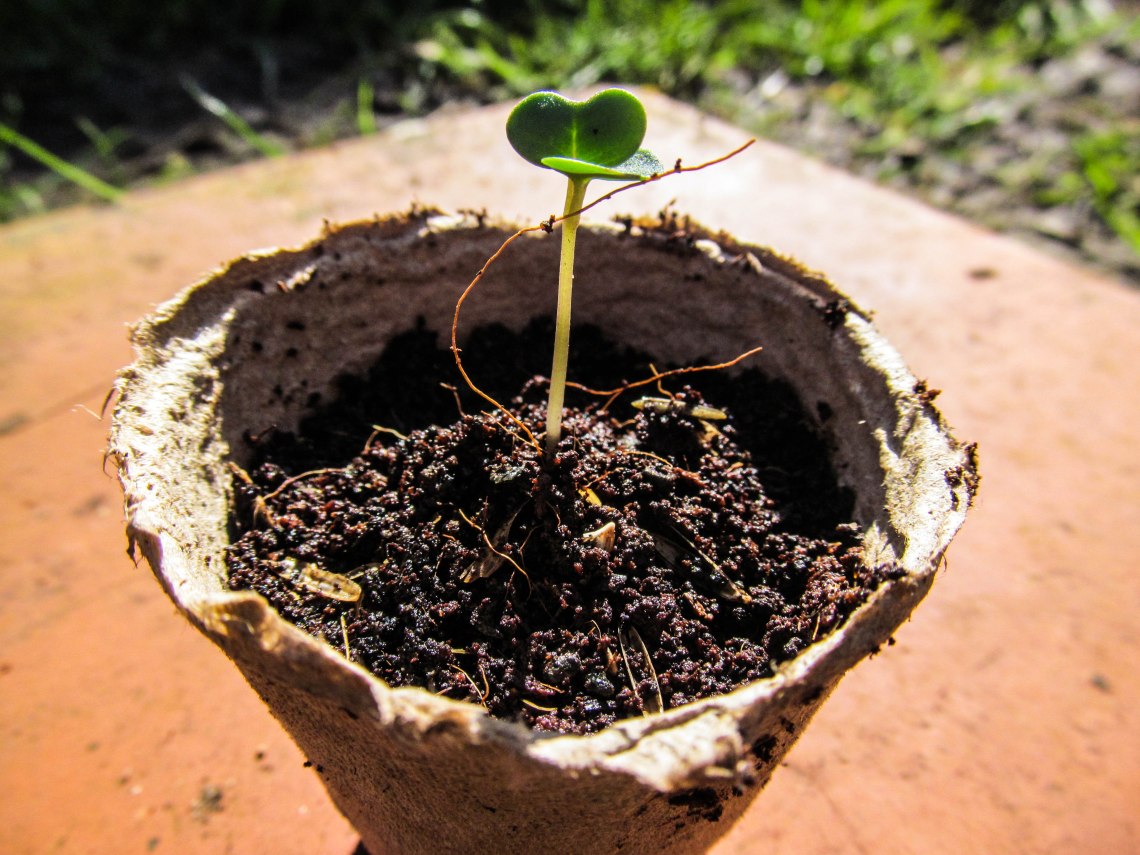
- You can move the seedlings to a larger container. Change container before roots become too established or they will be more prone to damage.
2. Use a potting mix/compost this time. This will provide the nutrients needed for growth.
I mixed my own, this can save money and provide a better result if done right.
- 1 part Coconut Coir – soak in water (as per instructions)
- 1 part perlite – I used organic rice husks
- Potting compost – Organic Vermi Compost – To eye
- Volcanic Rock Dust – Ebay (£4.99 per kg) – A couple handfuls
 3. Fill most of the way.

4. Dig around your seedling to loosen it from the soil. Then, lift it by the leaves rather than the stem.
5. Place it in the pot and add more mix to secure it.
6. Harden off – Gradually acclimatise your seedling to the outdoors by bringing it outside for increasing intervals.
17/04/2016
The seedlings are getting stronger, I’m bringing them out into the sun every day. They live indoors at night.